How Can You Transform Your Roof with DIY Solar Panel Installation?
The increasing emphasis on renewable energy sources has made solar panels a popular choice for homeowners. Installing solar panels can drastically reduce your electricity bills and lessen your carbon footprint. If you’re considering a DIY solar panel installation, you’re not only contributing to a greener planet but also transforming your roof into an energy-generating asset. This article will guide you through the necessary steps and considerations for a successful installation.
Understanding Solar Panels
Before diving into installation, it’s crucial to understand what solar panels are and how they function. Solar panels convert sunlight into electricity through photovoltaic (PV) cells. These cells harness solar energy and convert it to direct current (DC), which is then converted into alternating current (AC) using an inverter, making it usable for your home.
Assessing Your Roof for Solar Panels
Prior to installation, assessing your roof’s suitability is essential.
Roof Type and Condition
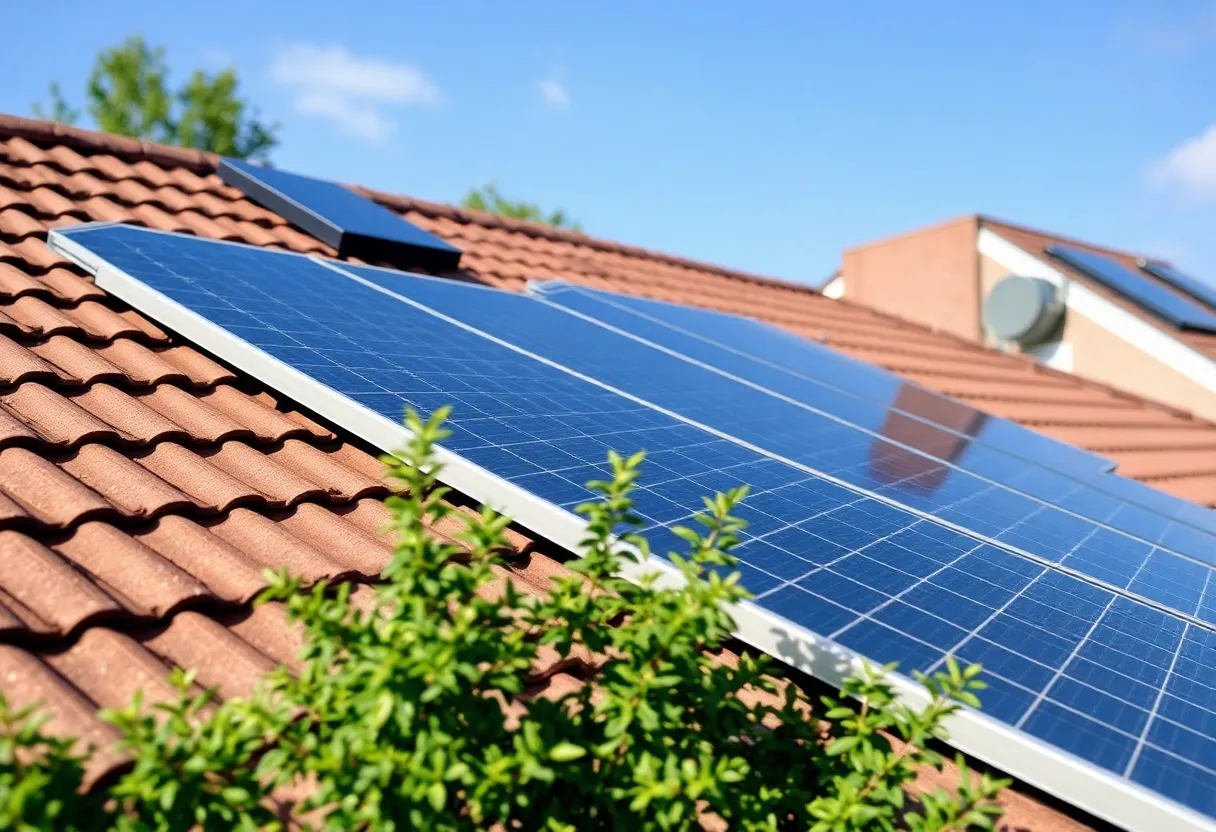
Different types of roofs (asphalt shingles, metal, tile) offer varying benefits and challenges. Ensure that your roof is in good condition, as the installation process may require additional load-bearing capacity. If it’s nearing the end of its lifespan, consider repairing or replacing it before adding solar panels.
Orientation and Angle
For optimal energy capture, solar panels should ideally face south in the northern hemisphere and north in the southern hemisphere. The tilt angle is also significant. A pitch of around 30 degrees tends to work best, though the specific angle may vary based on your location.
Shading Assessment
Examine potential shading from trees, buildings, or other obstructions. Shadows can significantly reduce the efficiency of your solar panels, so aim for an unobstructed view of the sun.
Calculating Your Energy Needs
Estimate your energy consumption before choosing how many solar panels to install. Review past electricity bills to determine your average monthly usage. This will help you identify the size and capacity of the solar system you’ll need.
Understanding Solar Panel Output
Solar panels typically generate between 250 to 400 watts each. To find out how many panels you need, divide your monthly energy consumption (in kilowatt-hours) by the average output of the solar panels multiplied by the number of sunny hours per day. This will provide a solid estimate for your installation.
Purchasing Solar Panels and Equipment
Once you’ve determined your needs, it’s time to purchase the necessary equipment.
Choosing the Right Panels
When selecting solar panels, consider factors such as efficiency, warranty, and cost. Higher efficiency panels convert more sunlight into electricity but may come at a premium. Look for panels with warranties of 25 years or more, which indicate long-term reliability.
Inverters and Mounting Systems
Your installation will also require an inverter to convert DC to AC electricity. Choose between string inverters, microinverters, and power optimizers based on the layout of your roof and budget. Mounting systems are equally important. Fixed mounts, tracking mounts, and ballast mounts provide different installation options aimed at maximizing solar exposure.
Preparing for Installation
Before starting your solar panel installation, several preparatory steps are necessary.
Permits and Regulations
Check local regulations regarding solar installations. Many municipalities require permits and inspections. Failing to comply could result in penalties or forced removal. Research zoning laws, building codes, and homeowners association guidelines.
Safety Gear
Safety is paramount during installation. Equip yourself with adequate safety gear—hard hats, gloves, goggles, and harnesses if necessary. Ensure your work area is free from hazards, and never work on a wet or windy day.
Step-by-Step DIY Installation
Once you are prepared, follow these steps for a successful DIY solar panel installation.
1. Layout Planning
Mark the locations on your roof where the panels will be installed. Ensure you maintain adequate space for wiring and future maintenance. Creating a template can help ensure accurate placement.
2. Install the Mounting System
Secure the mounting brackets to the roof using appropriate fasteners. Ensure they are installed according to the manufacturer’s specifications. Provisional attachment can be made with lag bolts to ensure stability.
3. Mount the Solar Panels
After the mounts are securely in place, lift the solar panels onto the mounts and secure them. Ensure each panel is aligned correctly and that all fasteners are tightened appropriately. Use the provided clamps or brackets to attach the panels securely.
4. Wiring Connections
Connect the solar panels in series or parallel according to your system design. Each panel may need junction boxes for proper wiring. Connect the panels to the inverter, ensuring all connections are secure. Follow all local code requirements for electrical work.
5. Installing the Inverter
The inverter should be installed in a shaded area to avoid overheating. Follow the manufacturer’s guidelines for mounting and connecting the inverter to your home’s power supply.
6. Final Electrical Connections
After connecting the inverter, hook it into your electrical panel. This stage typically requires more electrical expertise, and hiring a licensed electrician may be advisable. Ensure all connections are safe and compliant with local electrical codes.
7. Testing and Commissioning
After everything is assembled, it’s time to test the system. Ensure all components are functioning correctly, and energy generation corresponds to estimates. Document readings from the inverter for future reference.
Post-Installation Considerations
Once your solar panels are installed, a few ongoing considerations need attention.
Regular Maintenance
Regular cleaning and maintenance can enhance the efficiency of your solar panels. Dust, debris, and snow can obstruct sunlight and reduce energy output. Ensure panels are cleaned periodically, generally once or twice a year, or more often if your environment causes more buildup.
Monitoring Your System
Many modern solar systems come with monitoring software that allows you to track energy production and consumption in real-time. Monitoring helps identify issues, optimizing performance over the lifespan of your system.
Cost Benefits of DIY Solar Panel Installation
Engaging in DIY solar panel installation can be cost-effective. The primary expenses include equipment purchase and possible permits. However, it is essential to be aware of available incentives, tax credits, and rebates, which can significantly offset initial costs.
Return on Investment
The long-term savings and increased home value typically yield a high return on investment. Over time, reduced electricity bills can recoup the installation costs, potentially within 5 to 10 years depending on various factors like system size and local energy rates.
Conclusion
Installing solar panels can transform your roof, providing sustainable energy and reducing reliance on fossil fuels. DIY solar installation requires careful planning, assessment, and execution, allowing you to create an environmentally-friendly energy solution. With the right tools, knowledge, and safety precautions, you can effectively install solar panels on your own, fostering both personal and environmental benefits.