How to Effectively Clean Your Roof: Steps for a Sparkling Finish
Introduction
Your roof plays a vital role in protecting your home from the elements. Over time, it can accumulate debris, dirt, and even moss. Regular cleaning is essential not only for aesthetics but also for the longevity of your roof. In this article, we will outline the steps to effectively clean your roof and ensure a sparkling finish.
Why Cleaning Your Roof is Important
Cleaning your roof has several benefits:
- Prevents Damage: Accumulated debris can trap moisture, leading to mold growth and potential damage to the underlying structure.
- Increases Lifespan: Regular cleaning can extend the lifespan of various roofing materials, ultimately saving you money.
- Enhances Curb Appeal: A clean roof significantly improves the overall appearance of your home.
Essential Tools and Materials
Before you begin the cleaning process, gather the necessary tools and materials:
- Soft-bristle broom or roof rake
- Garden hose with spray nozzle
- Roof cleaning solution (commercial or homemade)
- Safety equipment (gloves, goggles, harness if needed)
- Ladder (if necessary)
Steps for Cleaning Your Roof
Step 1: Safety First
Safety should be your top priority. Ensure you have a sturdy ladder, and if your roof is steep, consider using a harness. Wear gloves and safety goggles to protect your skin and eyes.
Step 2: Inspect Your Roof
Before cleaning, inspect your roof. Look for damaged shingles, leaks, or signs of mold. Document any issues and consider professional help for significant repairs.
Step 3: Remove Debris
Start by removing loose debris. Use a soft-bristle broom or a roof rake to gently brush away leaves, twigs, and dirt. Work from the top down to avoid pushing debris into areas that require cleaning.
Step 4: Choose the Right Cleaning Solution
Select a suitable cleaning solution. You can opt for a commercial roof cleaner or create a homemade mixture using 1 part bleach, 1 part water, and a few drops of detergent. Make sure to test your solution on a small area first to prevent damage.
Step 5: Apply the Cleaning Solution
Using a garden sprayer or a bucket, apply the cleaning solution evenly to the roof. Allow it to sit for about 15-20 minutes. This helps to break down stains, moss, and algae.
Step 6: Scrub the Surface
After allowing the solution to work, use a soft-bristle brush to scrub the roof gently. Focus on areas with heavy staining or growth. Avoid using wire brushes, which can damage roofing materials.
Step 7: Rinse Thoroughly
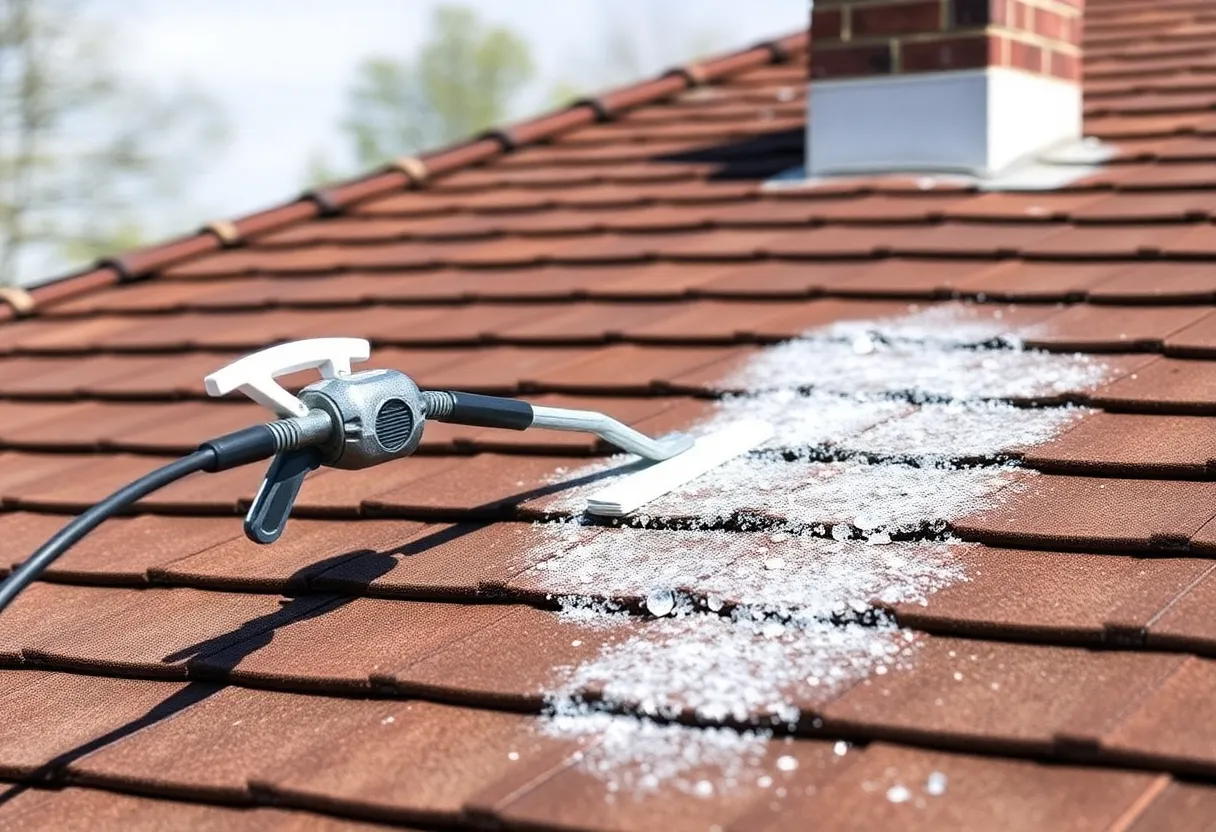
Using a garden hose with a spray nozzle, rinse the roof thoroughly. Ensure all cleaning solution residue is removed, as leftover chemicals can harm plants and roofing materials.
Step 8: Check for Accumulated Water
After rinsing, check for areas where water may accumulate. Ensure gutters and downspouts are clear to allow proper drainage.
Maintenance Tips
To keep your roof looking pristine, consider these maintenance tips:
- Regular Inspections: Inspect your roof at least twice a year for debris and signs of wear.
- Trim Overhanging Branches: This prevents leaves and branches from accumulating on your roof.
- Clear Gutters: Regularly clean gutters to ensure proper drainage and reduce potential damage.
- Watch for Moss Growth: If you notice moss, consider applying a moss-preventing treatment.
Conclusion
A clean roof is an essential part of home maintenance that contributes to the durability and appearance of your property. By following these steps, you can effectively clean your roof and keep it looking as good as new. Regular maintenance will not only provide a sparkling finish but also help avoid unnecessary repairs in the future.
Final Thoughts
Cleaning your roof doesn’t have to be a daunting task. With the right tools, safety measures, and cleaning approach, you can maintain the integrity of your roof while enhancing the overall aesthetics of your home. Remember to assess your capabilities and don’t hesitate to hire a professional if needed.
Author: STAFF HERE Chapin
CHAPIN STAFF WRITER The CHAPIN STAFF WRITER represents the experienced team at HEREchapin.com, your go-to source for actionable local news and information in Chapin, Lexington County, and beyond. Specializing in "news you can use," we cover essential topics like product reviews for personal and business needs, local business directories, politics, real estate trends, neighborhood insights, and state news affecting the area—with deep expertise drawn from years of dedicated reporting and strong community input, including local press releases and business updates. We deliver top reporting on high-value events such as the Chapin Christmas Parade, Fourth of July Celebration, and the Chapin Fall Festival. Our coverage extends to key organizations like the Chapin Chamber of Commerce and the Lexington School District One, plus leading businesses in retail and recreation that power the local economy such as Lake Murray Tourism and the Chapin Visitor Information. As part of the broader HERE network, including HEREaiken.com, HEREbeaufort.com, HEREchapin.com, HEREcharleston.com, HEREclinton.com, HEREcolumbia.com, HEREgeorgetown.com, HEREgreenwood.com, HEREgreenville.com, HEREhiltonhead.com, HEREirmo.com, HEREmyrtlebeach.com, HEREnewberry.com, HERErockhill.com, HEREspartanburg.com, HEREaustin.com, HEREcollegestation.com, HEREdallas.com, HEREhouston.com, and HEREsanantonio.com, we provide comprehensive, credible insights into South Carolina's dynamic landscape.


 Mays Contracting

